
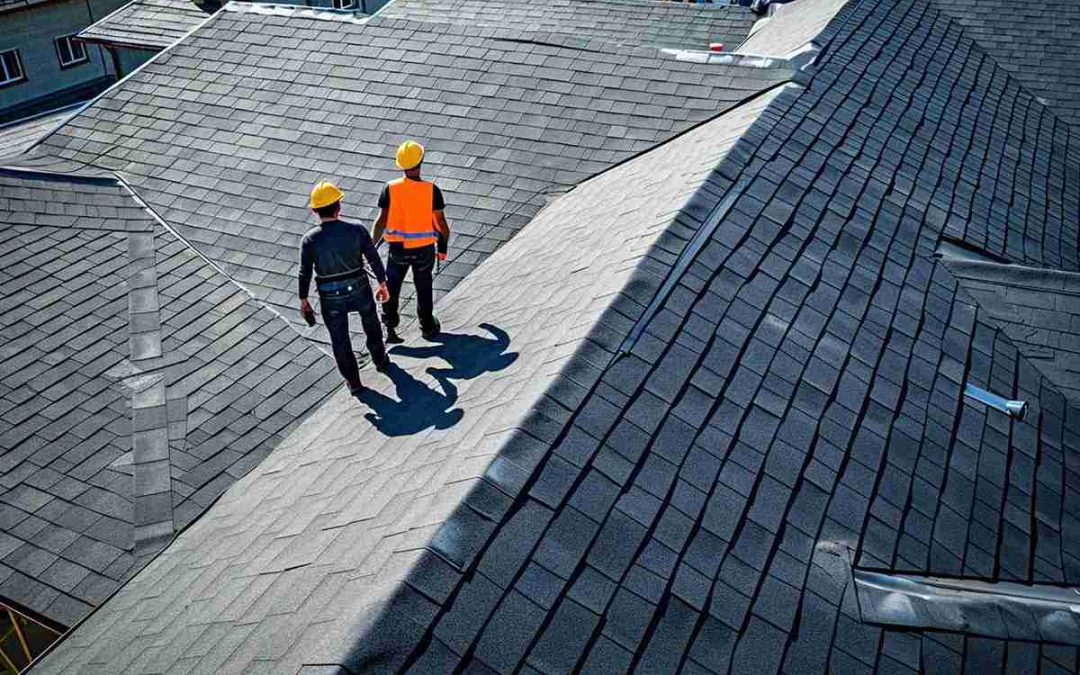
Roof measurement is vital for ordering the correct number of shingles and avoiding unnecessary costs. By measuring correctly, you can also better estimate shingle coverage and waste. This blog will elucidate a step-by-step procedure to measure your roof manually.
Essential Safety Tips Before Climbing Your Roof
It’s crucial to prioritize security before measuring your roof. Ascending to your roof involves risks, so follow these safety guidelines to protect yourself:
Ladder Safety
Use an extension ladder and place its base on level ground, about three feet from the building’s edge. Ensure the ladder is stable; if it cannot be secured at the top, have someone hold it steady while you climb.
Roof Precautions
Wear sturdy, closed-toe shoes with good grip. Be aware of your environment and avoid standing on weak or loose shingles.
Safety Gear
Consider investing in a safety harness, part of a fall protection kit that includes ropes and fasteners. These kits typically range from $100 to $200 and are valuable if you plan to perform additional roof work.
The Importance of Precise Roof Measurements
Getting your roof measurements right is crucial for several reasons:
- A clear estimate of materials helps you set a realistic budget for your roofing expenses to stay within your financial plan.
- Accurate dimensions ensure you purchase the correct number of shingles, avoiding unnecessary trips to the hardware store or the hassle of returning excess materials.
- You can schedule your construction within an organized time frame and save yourself from unexpected delays with precise measurements.
Required Tools for Roof Measurement
To measure your roof accurately, gather the following equipment:
- Tape Measure: Ensure it is sturdy and reliable for precise measurements.
- Ladder: Choose one that reaches your roof safely and securely.
- Safety Gear: Equip yourself with a harness and durable footwear to prevent accidents.
- Calculator: This tool is crucial for summing measurements and calculating the total area.
With these essentials, you’ll be prepared for accurate and safe roof measurements.
Understanding Your Roof’s Square Footage
To accurately estimate your roofing needs, you first need to grasp what square footage entails. It represents the total area of your roof in square feet, which is crucial for determining material requirements. Be prepared to apply basic geometry for precision in your measurements.
Here are the crucial steps to follow for a precise calculation:
- Segment the Roof
- Measure Dimensions
- Compute Area
- Sum It Up
Accurate Roof Measurement Essentials
To begin, use a ladder to access your roof safely. Break your roof into simpler geometric shapes like rectangles and triangles. With an adhesive tape measure, note the width and length of each roof plane, including any dormers.
Determining Roof Pitch
Roof pitch indicates the steepness of your roof and impacts shingle requirements. To measure it, follow these steps:
Safety First: Ensure you’re securely positioned on the roof.
Measure the Rise: Use a tape measure to determine the vertical distance from the base to the ridge in inches.
Measure the Run: Count the flat distance with the roof’s base in feet.
For example, if the vertical rise is 10 inches and the horizontal run is 180 inches, divide 10 by 180 to get a pitch of 1:18. This pitch measurement helps select the right shingles for your roof’s angle for a proper fit.
After gathering all measurements, carefully descend and store your tools. Now it’s time to crunch the numbers!
Calculating Shingle Bundles and Roofing Felt
To determine the required number of shingle bundles, remember that each bundle covers one-third of a roofing square. Multiply the three with the total number of roofing squares to determine how many packs you need. For example, a roof with 10 squares will need 30 bundles.
Similarly, calculate the roofing felt needed based on the type you choose. A 15-pound roll covers 4 squares, so divide your total roofing squares by 4 to determine how many rolls you’ll need. If using 30-pound rolls, which cover 2 squares each, divide your total number of squares by 2.
Roofing Material Calculations
Underlayment: This waterproof layer goes directly on your roof deck. Measure your total roof area to determine how much underlayment is needed.
Drip Edge: Installed along the roof’s eaves to direct water into the gutters, you’ll need to measure the total length of the eaves and double it, as drip edge is required on both sides.
Roofing Nails: Typically, each shingle requires four nails, but for steeper roofs or windy areas, six nails per shingle might be necessary. Add an extra 10% to your total for potential loss or damage.
Flashing: Used to seal joints and valleys; replace old flashing with new. Note down the lengths of all chimneys and valleys for the estimation of the required amount.
Ridge Cap Shingles: These special shingles cover the roof ridges. The length of your hips and ridges should also be measured to identify their required numbers.
Roofing Cement: This is used for sealing potential leak points. A few tubes should be sufficient for most homes.
Ventilation: Proper ventilation is crucial for longevity, depending on your roof design and local climate. Select the right vents for optimal performance.
Final Words
Measuring your roof is feasible as long as you adhere to safety guidelines for ladders and roof work. While you can handle the measurements yourself, we highly recommend leaving the shingle installation to professionals. They possess the expertise and equipment to complete the job efficiently, and professional installation often ensures that your warranty remains valid.