
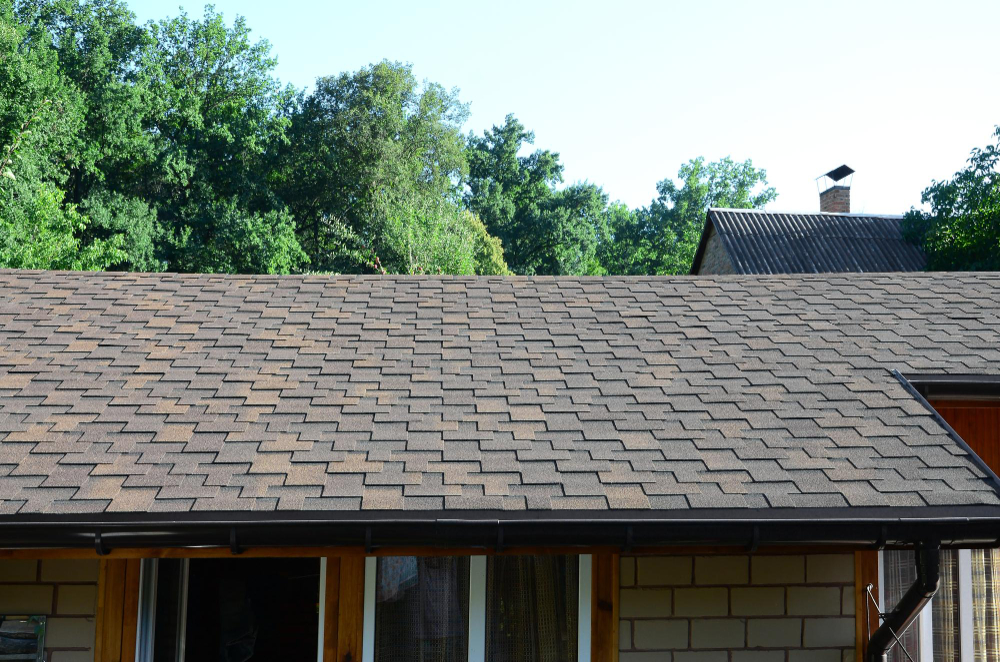
Properly installing roof shingles is essential for safeguarding your home against weather, damage, leaks, and long-term structural issues. A well-installed shingle roof blocks rain, wind, and heat while elevating curb appeal and preserving property value. Improper installation may result in expensive repairs and safety risks.
Whether you plan to install shingles yourself or oversee a roofing project, understanding the complete process is critical. From surface preparation to accurate nailing methods, every step enhances durability and performance.
This guide explains how to install roof shingles step by step, covering the tools required, proven installation patterns, and expert tips to help you achieve a strong, climate-resistant roof with confidence.
Tools and Materials Needed to Shingle a Roof
Before you start installing, it is essential to know which materials and tools are required. If you do this beforehand, you definitely know the tools and materials:
Tools
Roofing Knife: It helps cut, shape, and size shingles. It also helps to remove the old material.
Chalk Line: This chalk will help mark the lines for installing the shingles.
Ladder: Ensure the roof access is secure and sturdy.
Roofing Hammer: It is specifically created for roofing nails and shingles.
Safety Kit: It is essential for all roof work that you wear safety glasses, protective boots, a safety hat, and, if required, a harness.
Materials
Roofing Nails: Use galvanised steel or corrosion-resistant aluminium roofing nails. They should be long enough to penetrate the shingle and at least ¾ inch into the roof deck for a secure hold and wind resistance.
Roofing Shingle: Choose a roof shingles based on budget, durability, and climate. Options include asphalt shingles for cost, metal for longevity, wood for style, and slate for high-end appeal durability.
Roofing Felt: Roofing felt, an asphalt-saturated material, is often used alongside other underlayment options, though it is not mandatory.
Drip Edge: Metal flashing is installed along the roof edges to stop water from seeping under the shingles and damaging the roof deck.
Roofing Adhesive: A glue that helps to seal the shingles’ edges.
Roofing Cement: Sealant is applied to fill gaps or cracks in the roof, preventing water infiltration into the attic.
Step-by-Step Shingle Installation Process
Now that you have your tools and materials, it’s time to begin the installation process. Follow these steps in sequence, as each phase relies on the previous one.
Prepare Your Roof Surface
Start by removing all old shingles from the roof deck. Clean the space thoroughly, inspect every square foot for damage, and replace any weakened or damaged decking boards. A solid foundation helps prevent future issues such as sagging or shingle failure. Install drip edge along the eaves prior to laying the underlayment. This metal flashing directs water into the gutters and protects the roof edges from moisture damage.
Install Underlayment Protection
Begin installing your underlayment at the lowest point on your roof. Work across the roof in horizontal rows, overlapping each by 6 inches. Secure the underlayment using cap nails or staples, positioning them every 12 inches at the edges and every 24 inches across the surface field.
Begin Laying Shingles
Begin your initial course at the roof’s lowest edge, spread roofing cement along the eave, and then lay down your starter strips place. The initial row should extend approximately half an inch beyond the drip edge to ensure effective water drainage.
Install all shingles from right to left. Each shingle should be aligned with the one below it, ensuring that the tabs cover the nails of the previous layer row.
Nail Shingle Accurately
The complete nailing technique affects how effectively your shingles resist wind and other elements. For typical three-tab shingles, install four fasteners per tile; for architectural shingles in high-wind areas, install six fasteners per tile.
Align the nails just beneath the adhesive strip, typically around 5 to 6 inches from the bottom edge. Position the vehicle so the bumpers are aligned and level with the roof covering.
Cut and Fit Around Obstacles
Trim the shingles and secure them around the vents, chimney, and other roof features and penetrations. Use a precise utility blade and a ruler for a neat cut. Always double-check measurements before cutting to prevent mistakes waste.
Offset your shingle joints by at least 6 inches between rows. This offset pattern enhances your roof’s structural integrity and provides a unique, high-quality dimensional appearance.
Finish with Ridge Caps and Sealing
Finish your installation by installing ridge cap shingles along all peaks and hips. These specially designed shingles flex to fit angles and are sealed with roofing cement to prevent leaks.
Conclusion
Installing roof shingles is a meticulous process that demands careful planning, appropriate tools, and attention to detail. By following these steps, you will ensure a high-quality installation that safeguards your home for years to come. Proper installation combined with regular maintenance is key to keeping your roof in optimal condition. By inspecting your shingles regularly, removing debris, and checking for damaged or missing shingles, you can extend your roof’s service life and prevent costly repairs.
Whether you are doing it yourself or with the help of experts, make sure every step is performed with care. Embrace the challenge and take satisfaction in your newly tiled roof, knowing you have the expertise to handle any roofing task with confidence.